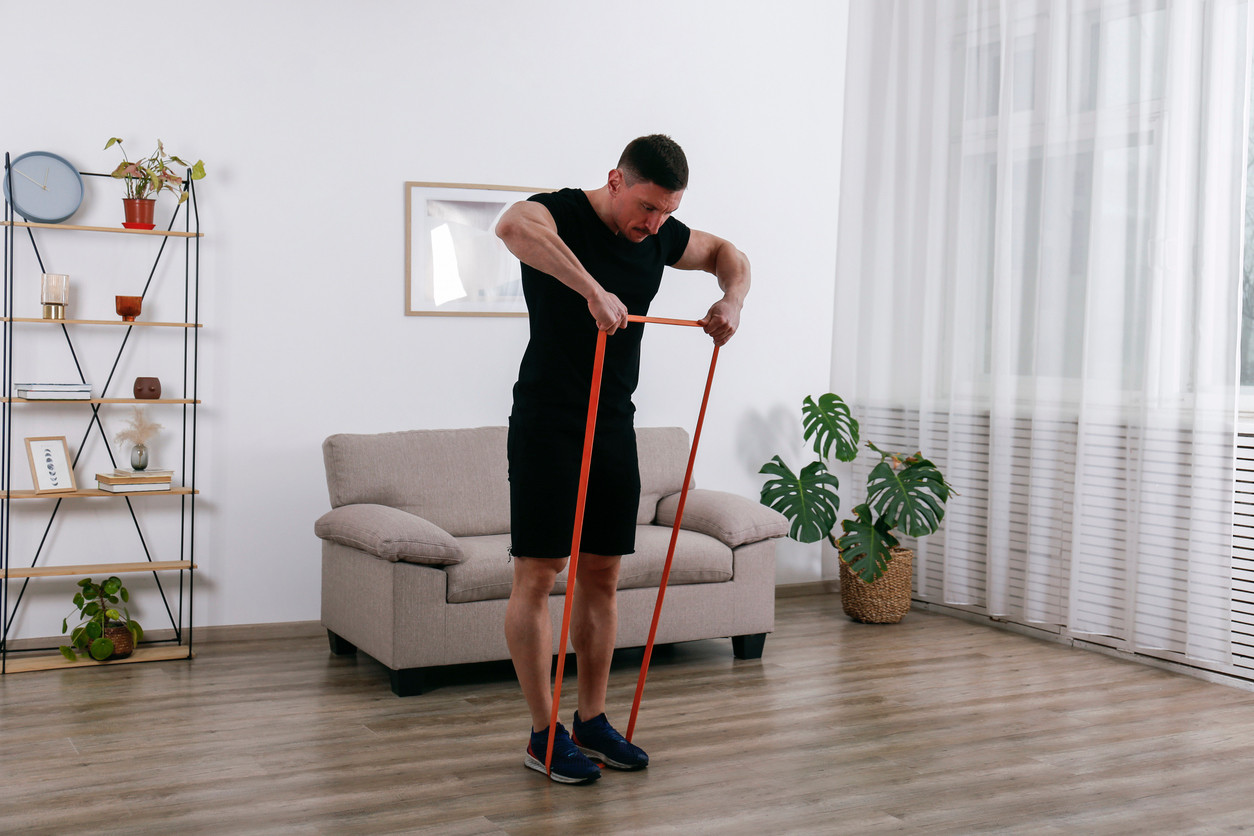
8 Resistance Band Arm Strengthening Exercises for Better Function and Less Pain
Learn about arm strengthening exercises you can do at home with just a resistance band.
Table des matières
Arm strengthening exercises can be a game-changer for doing daily chores and tasks, maintaining your independence, and improving musculoskeletal (muscle and joint) health. Arm strength can impact your ability to perform everyday tasks — from opening a jar to lifting a grandchild. Strong, healthy arms can also support your posture, improve grip strength and bone health, and reduce your risk of many injuries.
The following exercises recommended by Hinge Health physical therapists require nothing more than a resistance band and can be performed in short sessions throughout your day, making them ideal for busy schedules. Ready to get started?
Interested in getting a personalized exercise therapy plan? Learn more about Hinge Health’s digital physical therapy programs and see if you’re eligible.
Reviewed by our clinical and medical experts
Katie Schaner, PT, DPT
Christynne Helfrich, PT, DPT
Adding Arm Strength Exercises to Your Routine
“Muscles need gradual and progressive strengthening to adapt and change,” says Katie Schaner, PT, DPT, a physical therapist at Hinge Health. That’s why it’s important to incorporate these arm strengthening exercises into your routine at least a few times a week.
“If you only lift, say, when you carry groceries once a week, that’s probably not enough to create true muscle strength. By adding in just a few arm strengthening sessions per week, you’ll start to notice that the groceries feel lighter and other tasks get easier as your arms get stronger.”
8 Arm Strengthening Exercises
You will need a resistance band for the following exercises. You can buy these from a sporting goods store or an online store like Amazon or Target. Read more about the benefits of using resistance bands.
PT Tip: If you don’t have a resistance band, try holding a light weight, water bottle, or soup can for resistance instead.
1. Banded Bicep Curl
Want expert care? Check if you're covered for our free program →“This exercise strengthens the biceps muscle, which crosses the elbow and shoulder joint on the front of your upper arm,” explains Dr. Schaner. “Strengthening these muscles makes it easier to lift and carry things like groceries, laundry, or kids.”
How to do it:
Start standing, then stretch a resistance band from your hand down to the bottom of your foot. Your arm should be straight and resting at your side.
Bend your elbow by moving your hand up toward your shoulder, stretching the band.
Lower your arm back down to your side.
2. Banded Tricep Extension
Want expert care? Check if you're covered for our free program →This exercise strengthens the triceps muscle, which crosses the elbow and shoulder joint on the back of your upper arm (opposite muscle from your bicep). “Strengthening your triceps helps with a lot of daily activities, like when you push up out of a chair with your arms,” says Dr. Schaner.
How to do it:
Start by standing to the side of a chair.
Stretch a resistance band from your target hand to the bottom of your foot, then bend over and place your other hand on the armrest or seat of the chair.
Bend the elbow on your target side and place it near the side of your chest.
Straighten your arm by extending your elbow to stretch the band.
Bend your elbow to return to the starting position.
PT Tip: Focus on keeping your elbow near the side of your chest throughout the exercise.
Get more information on how to do a banded tricep extension.
3. Banded Forward Raise
Want expert care? Check if you're covered for our free program →This exercise strengthens the front of your shoulder and upper arm. “Think about doing tasks like putting away dishes in cupboards and reaching for high shelves in a closet. This exercise is going to help you do those things,” says Dr. Schaner.
How to do it:
Stand on the center of a resistance band and hold the ends in each hand. Your arms should be by your sides with your thumbs pointing forward.
Lift your hands to about shoulder height, keeping your arms extended. Your thumbs should be pointing toward the ceiling at the top of the move.
Return to the starting position.
PT Tip: Make sure to breathe through the motion, and avoid letting your shoulders creep up toward your ears.